Showing posts with label homework. Show all posts

Wednesday, April 28, 2010

Pump-King

          So this is a well overdue assignment for my Texture & Lighting class - though it's been done for a little while, it's been overdue to be posted on my blog for your eyes to see. What the project is, is that we're given a model of a pumpkin (as you can plainly see) and using only a noiseNode and adjusting the settings of that and the PhongE shader (so no actual 'texture' file used) we have to make a 'Chocolate', 'Copper', 'Leather', & 'Orange Peel' pumpkin. It's to teach us how things can be achieved using nothing but procedural textures. They should be pretty obvious which pumpkin is which material, but the only one i couldn't pin down is the Copper one - to me it still looks like a milk chocolatey kind of material.

-- Enjoy

Wednesday, March 31, 2010

...For Texture

          So it's been a while since i posted anything for....well anything. I've recently had to go part time at work (and i mean über part time...) so i could have excess time to get caught up with school work and everything else that has since been let go.

          So as i'm taking a break from the extremely large amount of demonstrational videos i've been watching, i figure i'll post some stuff on my blog and hopefully keep it up as the semester progresses.

          So the only thing that i really have to show so far is the "Alley Project" that was the first half of my Texture & Lighting course (finishing it counted as my midterm). We were given a blank model (basically the wall, door, handle, curb/street, and pipe attached to the wall), and have to add our own elements to it as well as create textures for everything using only photographs we take with out digital cameras.

          I'm not going to post all the pictures i used, but i will post the 'color' files for the wall and street so you can see what it all looks like.

          So the first image we have is called a "Beauty Pass" where it renders everything in view, applies any textures added to materials, and renders shadows based on the lighting situation. This image was rendered in MentalRay (so the shadows aren't so dark and there's some light bouncing happening). But for the most part, it's very simple.


          This pass is called "Ambient Occlusion" and it basically reads the proximety of objects to one another and adds shading depending on that data (it's also refered to as a "Dirt Layer/Pass"). This is usually rendered in it's own layer and multiplied over the Beauty Pass to add extra shading and light imitation.


          So when you put the two layers together you end up with this image. There's subtle differences, but you can still notice a difference between the two.

          I went ahead and did the same scene but at two different times - just to see how the lighting can kind of change your perception of the textures applied to the objects.


          I'll possibly post more about this later down the road....maybe even take a whole new set of pictures and redo all the textures - maybe.

Friday, October 9, 2009

God Almighty We Are Done At Last!

          So finally finished my Red Mage model as much as i'm going to try for the scope of this particular class (but when it's over, i'm definitely going to try and add some more zest to it).


          So this is a 'turntable' i created when i finished my model - it's a composite of two different layers, a 'Surface Shader' layer, and an 'Ambient Occlusion' layer. it's an extremely time consuming render process, mostly for the AO, but it beats trying to fake the kind of lighting effect you get from it as i'm not that experienced in lighting and Global Illumination yet.....yet. So the only part of the original model that's there is the head (it goes down to about the collar bone and terminates). So the gloves, boots, greaves, mostly everything will be bound and skinned to the skeleton i'm about to create rather than bind/skinning the model and then creating influences for the objects places over his body....man - PAIN!

          For the most part that's all i've got done, plus some renders in Mental Ray (with physicalSun/Sky) of the 'set' i'm going to use for my animation
.

Monday, September 21, 2009

POST Traumatic Stress

          So i totally forgot to add this image to my last post and thought it was well worth posting. just the outline of the Red Mage character design, colored briefly in photoshop, and labeled enough to know what all the difference pieces are that are going to be modeled.

          Enjoy.


**Opens in new window.

Sunday, September 20, 2009

WIP it good.

          So anoter week has gone by and i have made some improvements over my last few posts - though i'm only going to show some of them. I inked and added detail to my storyboards (mostly spacial depth stuff so you get a sense of things), inked and colored the "Front View" of my Red Mage design, inked the Back View, and made sketches for my "Set".

          Page 1: I don't know how well this is going to work out, but i'm gonna try it anyway. Recently they've been showing episodes of Teen Titans on CN and Boomerang, and i love some of the styles they use to show certain things; like when they have a duel or someone running a long distance or something, they'll have the bottome half of the screen be completely black (to illustrate the ground the they're running on and force the subject into the middle of the screen without getting so close). That's what i'm going to try and do in some of the panels/shots of this animation (Spec. Panels 1 & 6-9)


          Page 2: Not much has changed besides the gradients added in Photoshop. Same stuff as the pencil version.


          Page 3: I decided what was going to happen in Panel 7, and it can happen quite a few ways too...though essentially they are all the same. The character can throw is sword "Blade-over-Hilt" and catch it with just a vertical jump before landing/striking downward - or - the character can throw it "Sideways" and catch it with a "jump-and-a-spin" before striking sideways. I would personally like to see the sideways one because the stance/pose he'd be left in would be more dynamic......but the blade over hilt would be easier to animate overall.


          Page 4: So this is essentially what the animation is going to be, though if it looks like it'll be longer than 30 seconds i have ideas of whta actions to cut/simplify/overlap. But either way, after the semester is done, depending on how well i picked up on the 'animating' principles and process, i'm definitely planning to make a longer verson of this idea...with more action and fighting than right before Demi Moore left Bruce for Ashton.


          So the details of the overall scene are somewhat lacking in the storyboards, so i decided to make a preliminary sketch to plot out the key points before i go in to model it (though usually i can sit down with nothing in my head and after a few hours come out with something awesome).

          It might be hard to tell what way the stairs are going and what is a new level and such, but i should have some rought renders and models in a week or two, so don't fret if it's hard to read.

          It's mostly just the basic outline of everything, once i actually go into maya and start modeling, things might change to look more 'organic' or natural....so the set probably won't look like this 100%...but it'll look relatively similar.


          Side Profile of the main room of the 'set'.


          Mostly what all is in this is just basic geometry and lighting elements, trying to say that the lights should only illuminate from tapestry to tapestry....so there will be black patches every so many feet (to try and accomplish a certain effect for the first shot of my storyboard).

Wednesday, September 9, 2009

Are you Board with my Story?

     So the first week of school is half over, despite starting a week ago, and we're now able to submit our homework for the first week - which are Storyboards for your final animation concept. Mine are below and will go into further explaination later if at all (i think between the "Action" and "Comments" you can get the gesture of what i'm going for. Quite a bit is left out of the storyboards, esp. the environment - but the time it would take me to draw them to the level of detail you could appreciate....i could just as quickly made the actual model and show you from more angles and detail.

     Page 1 of my storyboard details the build up of the first scene - and the frame of the camera isn't going to be showing both feet at the same time, it'll more than likely be position in the middle - as to get the passing of both (i might try two version, one staying with the character, and the other catching up to and potentially passing him).
     Also, i'm going to try and space the lighting to make it seem more intensified, like when a person is riding an elevator and is lit every other second or so from the various floors/shaft lighting.


     What Panel 5 doesn't show is that before it starts tracking along the blade of the sword, i'll actually animate him unsheathing it (as best i can anyway lol) and do some fancy cutting so it doesn't look like it's own scene/shot before the track (FYI: tracking is moving closer or pulling back...not to be confused with "Zoom")


     Panel 7 left blank as i have not yet decided how i want my character to "Take off" towards the other person (whether there's someone what of a shockwave and he literally flies off into the room, or if i want to manipulate the lense angle to give it that 'worm's/fish eye view.


     Panel 10 is the point to which i am setting my semester goal - "Get to at least this point". I have the rest of the whole scene planned out (including things like the main character being thrown across the floor and flailling wildly and being thrown at a wall and doing that cliche 'sword-through-cloth to slow down his fall). So if i get to this point and have way more time than i know what to do with, i'll keep it going (which i intend to during the winter anyway).

So that's that, i'll post the designs for my main character and his "Opponent" when i finish doing all side (front, back, and side) and have designed the finer details of their costumes (which involves drinking paint and adding belts......meh DJ gets it anyway).

Friday, January 30, 2009

It's The Gesture That Counts


Below: My Two Linear Gesture Drawings For My Excersizes This Week


Below: My 3 Favorite Mass+Linear Gestures For This Weeks Excersize


We were supposed to do 5 Mass, 10 Linear, and 5 Mass+Linear, but these were the only ones i like enough to put up here. I'll let you know what they get once they're graded.

Monday, November 3, 2008

IDK

Man....I've really fallen out of the habbit of making somewhat-regular posts.....gotta break that.

Well there's been quite a bit going on since my last post (my last big post....the one below was just so my friend could see my torso rendering - i actually finished it.....so maybe i'll post that here too).

I went and had another outting with my friend McKay shooting his rifles (and i gotta say i'm developing a taste for it). There's a few videos of us shooting his cop killer an the german, trying to hit two frozen 2-liter bottles of water.


Um.......how about......Animation always has an appropriate place in my posts.


My current ANM project is dealing with character modeling (which includes modeling, riggind/binding to a skeleton, animating the skeleton, facial deformations - like make an "O" mouth - and creating a walk cycle).

First step was to pick a character and do a profile sketch in what's known as the 'Bind Pose'. The Bind Pose is the pose animators use to model characters before binding them to a skeleton (if you ever take a video game and make an 'image' of it on your computer and pull the 3D character models out of it, they'll ALL be in this pose by default).

So whether the character already existed or was one we created didn't matter, all that mattered was the pose and picture for reference.

So i chose Shadow the Hedgehog (basically the evil twin of Sonic).


So far, acording to my friend DJ, it's coming along nicely (and i agree despite how frustrating it is working with the type of 'geometry' we're using).

Here are some renders of what i've gotten done so far...the head won't need to be done until the middle of next week:


The Chaos Emeralds (glowing gems) i threw in there for fun because that's what all the games focus around and to give it a little something extra to make up for the fact that i think it's not as good as it could be (i might actually redo the model during the winter break).


Oh yeah - i was a Mormon Missionary for Halloween:

(which is funny because everyone...practically everyone, i work with is mormon and because everyone else i know knows where i work. (And the woman in the picture is one of the 'Ladies' at the justice court i help out at, Kimberley)

So here's me and McKay, both Mormon Missionaries (funnier still because he is Mormon):


My Grandma dressed up too, as a 50s cheerleader:

psst....don't tell her this is here....i don't think she'd like the fact that this is on the web when she's making that goofy face - i took the picture when she was saying 'shoe'.


I took the Arch of Constantine (the first Christian Emperor or Rome) and made a 3D model of something i want to put in my game (based off the design and concept of the Arch of Constatine:

Arch:


My Arch:


I guess that's it for now, i'll try and post something by friday, or on friday, to show you how everything else is coming along.

Late


Song of the Evening:
Monica - For You I Will

Sunday, October 19, 2008

Holy ***** *** ****** Batman!!!

Damn it's been a while since i've made a post - tho i've thought about it several times as i was falling asleep. When was the last time i made a post....*checks*............*whistles* - damn, almost a whole month ago. Well a lot has happened since then....lets get it started!

Well let's start with the most recent thing and work backwards then:

My ANM:105 project for 'photorealism'.

We were supposed to pick a building, whether one we pass all the time or one we found online didn't matter, and make a 3D replica of it - complete with lighting, textures; the whole shebang. So i picked this cool little family-owned/operated cafe near my work called He Brews Cafe.


The first step was to create some orthographic drawings (orthographic basically means without linear perspective.....like building blue-prints). I didn't actually do any of the building; what i did instead was the windows - just basic measurements/ratios, and walked around the building measuring certain things (how many verticals were in the metal railling, the dimensions of the lumber, things like that).


Then you go into Maya (the software we use for the class) and use those drawings for reference (you can import them into Maya and make a 'to-scale' model fairly easily).

After a long-ass period of time getting used to Maya's crappy UI and Hotkeys, i finally got the model finished (it seriously took about two weeks, a little each day, to complete). Once you do a whole bunch of other crap (bookmarking camera angles, blacking out the original building in the photo, and things that make me cringe when i think about them) you end up with an image you can insert 'renders' into:


Here's the model composited into that image with a kind of universal texture and lighting:


After you get the lighting right (basically trial and error), then you go on to texturing the finer details of the building (shingles, wood, metal railling, conrete slabs, painted front/sides, painted window frames, etc.):


Below is the video of all of those elements, but layered so you can see how they really fit together.


= = = = = = = = = = = = = = = = = = = = = = = = = = = = = = = = = = = = = = = = = = =


Before that, yesterday morning in fact (Saturday), one of my good friends McKay took me shooting because i wanted to do something since it's been a while since we hung out. This was the first time i had every shot an 'actual' gun (the only thing i had ever fired prior to that was a BB gun), and i have to say that i thoroughly enjoyed every second of it.

McKay's 'Pride & Joy' and the rounds that go with it:


There really isn't a picture of me fireing it, because i preferred to have video....it's just so much better - unfortunately McKay was being a goober and managed to get the moments 'in-between' the ones i wanted him to get....so my initial reaction to the kick-back of this high-powered rifle was sadly not recorded :(

Here's a video McKay got of me, my first reaction (mostly the laughter)


I did get a good shot of McKay holding it....the rifle i mean.....his rifle.....*blushes*


And a video of him shooting it so you can see how good the kick-back is:


= = = = = = = = = = = = = = = = = = = = = = = = = = = = = = = = = = = = = = = = = = =


My latest art assignment: Drapery - you better B-leave it.

My last post had me in a pissy mood because my art instructor had given me a C for my work when i thought i should've gotten at least a B- (which of course is a little more that a C+....but still not a "C").

So i was pleased....to some degree....to find out that a much more complex assignment and subject landed me a B (which is what i wanted anyway).

So i bascially submitted each step i took to my instructor to make sure i was doing it right - but since i had obviouslyfinished each step before submitting, had she actually said there was something wrong with it...i probably wouldn't have done anything anyway because it's all in charcoal.....not so easy to undo as graphite.

So here are the steps I took:
- - Pencil Outline (supposed to be charcoal...who cares)


- - Charcoal outline (fine line, medium tone)


- - Dual Tone shading (light tone overall, medium tone for shadows)


- - Final Rendering (of course i skipped the interum steps...but it was mostly *charcoal* *smudge* *smudge* *erase* *rinse* *repeate*)


= = = = = = = = = = = = = = = = = = = = = = = = = = = = = = = = = = = = = = = = = = =


Umm.....OH YEAH!!!!!

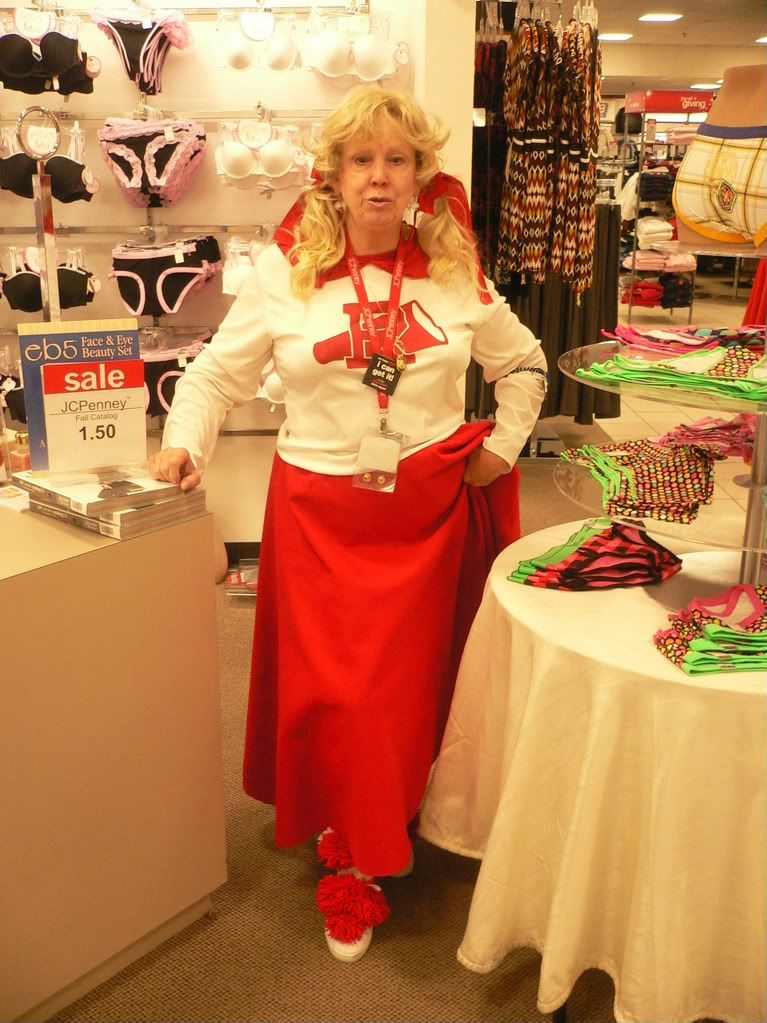
Holy Christ! I was in JCPennys the other day (Thursday i think it was) and was talking to my grandma who works there. As i was walking away from her register, someone calls out (at the time i didn't know what they were saying...all i heard was my name at the end of it). So i turn around and lay eyes on the last person i had a crush on/asked out/hadn't seen in over two years: Aloina (pronounced Ah-lone-uh...somewhat like 'alone').

Man, you wouldn't believe the mad rush i made to land a hug on her to make sure she was actually there. We used to hang out all the time at work (Wal-Mart) and flirt in passing (well i was flirting anyway...she was just being playful).

Oh man - i honestly can't even try to explain how happy i was - my cheeks were sore from the constant smile i had on my face. *sigh* Ah, the good ol' days.

*will not open in new window because the dimensions are 1200x1600 pixels*


= = = = = = = = = = = = = = = = = = = = = = = = = = = = = = = = = = = = = = = = = = =


And then.....

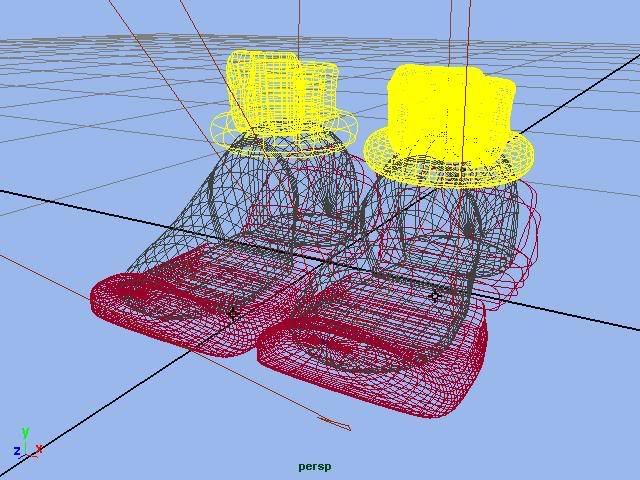
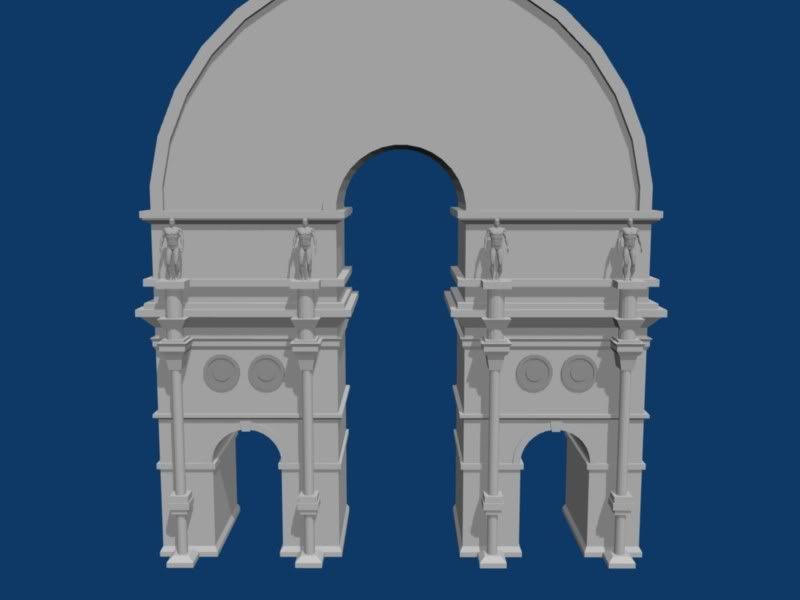
Well i guess i'll throw it in the mix. Because Maya always seems to piss me off when i use it, i started working in Blender (my 3D software of choice and upbringing) making a newer version of something in my story: the Curator's Study.

There isn't much detail in it yet, i only had about an hour or so to get to where i was, but there will be soon. I have a feeling about this version of it too - i think it'll stick if i get everything right as i go.


The layout/design of the rug (red) and the course it follows is based off a design i developed for a mechanized piece of....something - like a compass/altar (have yet to figure out how it's used in my story....all i know is it will be somehow):

*will not open in new window because the dimensions are 1683x1856 pixels*


= = = = = = = = = = = = = = = = = = = = = = = = = = = = = = = = = = = = = = = = = = =


I think that's about it. There of course were a bunch of other things that happened...but some are kind of special moments and others were fleeting and can't be recalled at this moment.

So hopefully this will teach me to post more regularly.


Tomorrow's Agenda:
- Start New Art Assignment (same process/length as drapery, but with the human torso)

- Go through and give critiques on fellow students to kind of make up for the lack of it in the previous week.

- Heroes (this trumps everything else....all stops when this comes on)


That's about all - Later

Song of the....Week:
Anthony Hamilton & Miri Ben-Ari - Sunshine to the Rain
---------------------------^
-------> Speaking of Miri Ben-Ari, who is an extremely tallented violinist, I start my violin lessons this coming Wednesday (or will at least try to, tho there might be a potential scheduling conflict that may force us to use a different day of the week)


And here's a pic from a long time ago for you Brad:

*will not open in new window because it was made in Can-a-duh*
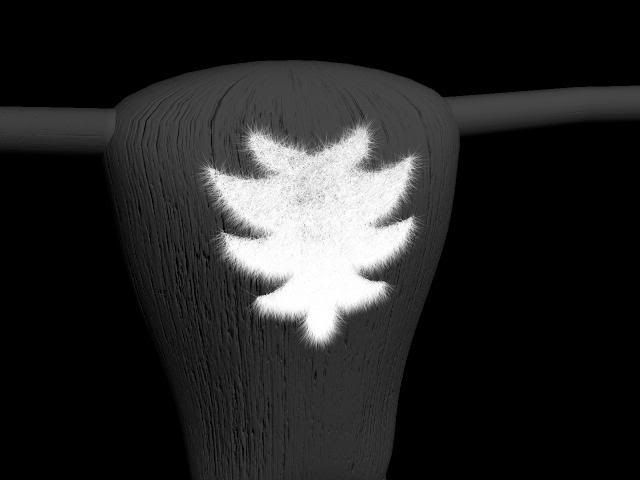